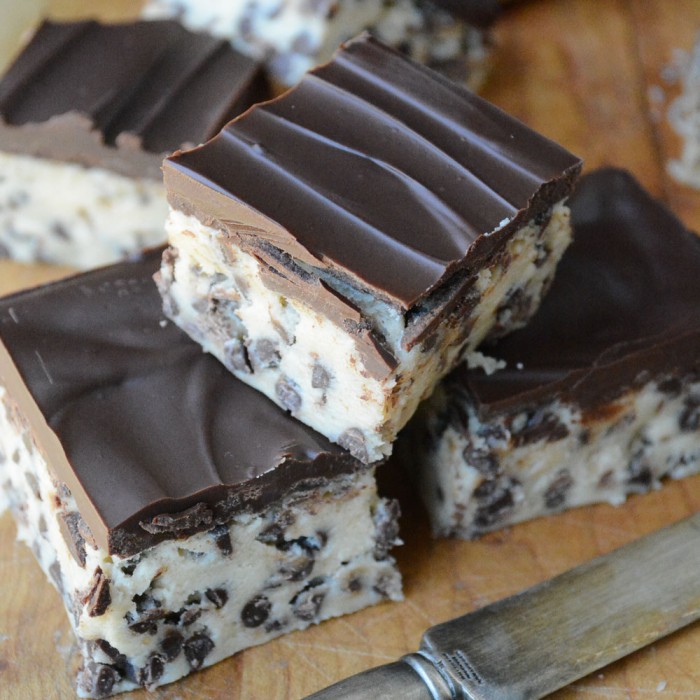
Ingredients
For the cookie dough filling
1 stick (1/2 cup) unsalted butter, softened to room temperature
¾ cup light brown sugar, packed
1 teaspoon vanilla extract
2 cups all-purpose flour
1 14-ounce can sweetened condensed milk
2 cups mini chocolate chips
For the Ganache
1 cup semi-sweet chocolate chips
¼ cup heavy cream
Instructions
Cream the butter and sugar and salt together until fluffy. I use my stand mixer, but you don’t have to. Just beat it really good so it’s light and creamy. Scrape down the sides of the bowl as necessary. Mix in the vanilla extract.
Beat in the condensed milk and the flour, alternately, mixing after each addition.
Mix in the chocolate chips.
Spray a 8×8 square baking pan with cooking spray and line it with parchment paper with long ends so you can lift out the bars for easy cutting later. You can skip the paper if you want to cut and serve them right out of the pan.
Turn the dough out into the pan and pat down evenly with your hands. You may want to flour your hands as the dough is sticky. Smooth it out evenly, I used an offset spatula to finish the job.
Cover and refrigerate until firm, (about 4 hours) or even overnight if you like. The texture will be similar to a fudge.
To make the chocolate topping, put the semi sweet chocolate chips in a microwave safe bowl or measuring cup and microwave for one minute. Stir, and then return to the microwave for short bursts of 15 seconds until the chocolate is totally smooth and melted. Don’t over heat.
Let the chocolate cool for about 5 minutes, and then pour onto the dough. Spread out evenly. Return to the refrigerator until the topping is firm. Cut into 16 squares.
Keep the bars in the refrigerator until ready to eat.
Source : allrecipes
